How Can We Help?
PDF Report Layouts
Create reports with different layouts. Each layout changes how your information is shown in the report. Depending on the type of log, new elements may show up. Choose the one that’s most suitable for your needs.
TIP: Create your PDF report and click on the images and attachments, you’ll be able to download them in full size. Share it with colaborators, supervisors or clients.
Examples
Layout Styles for PDF Reports
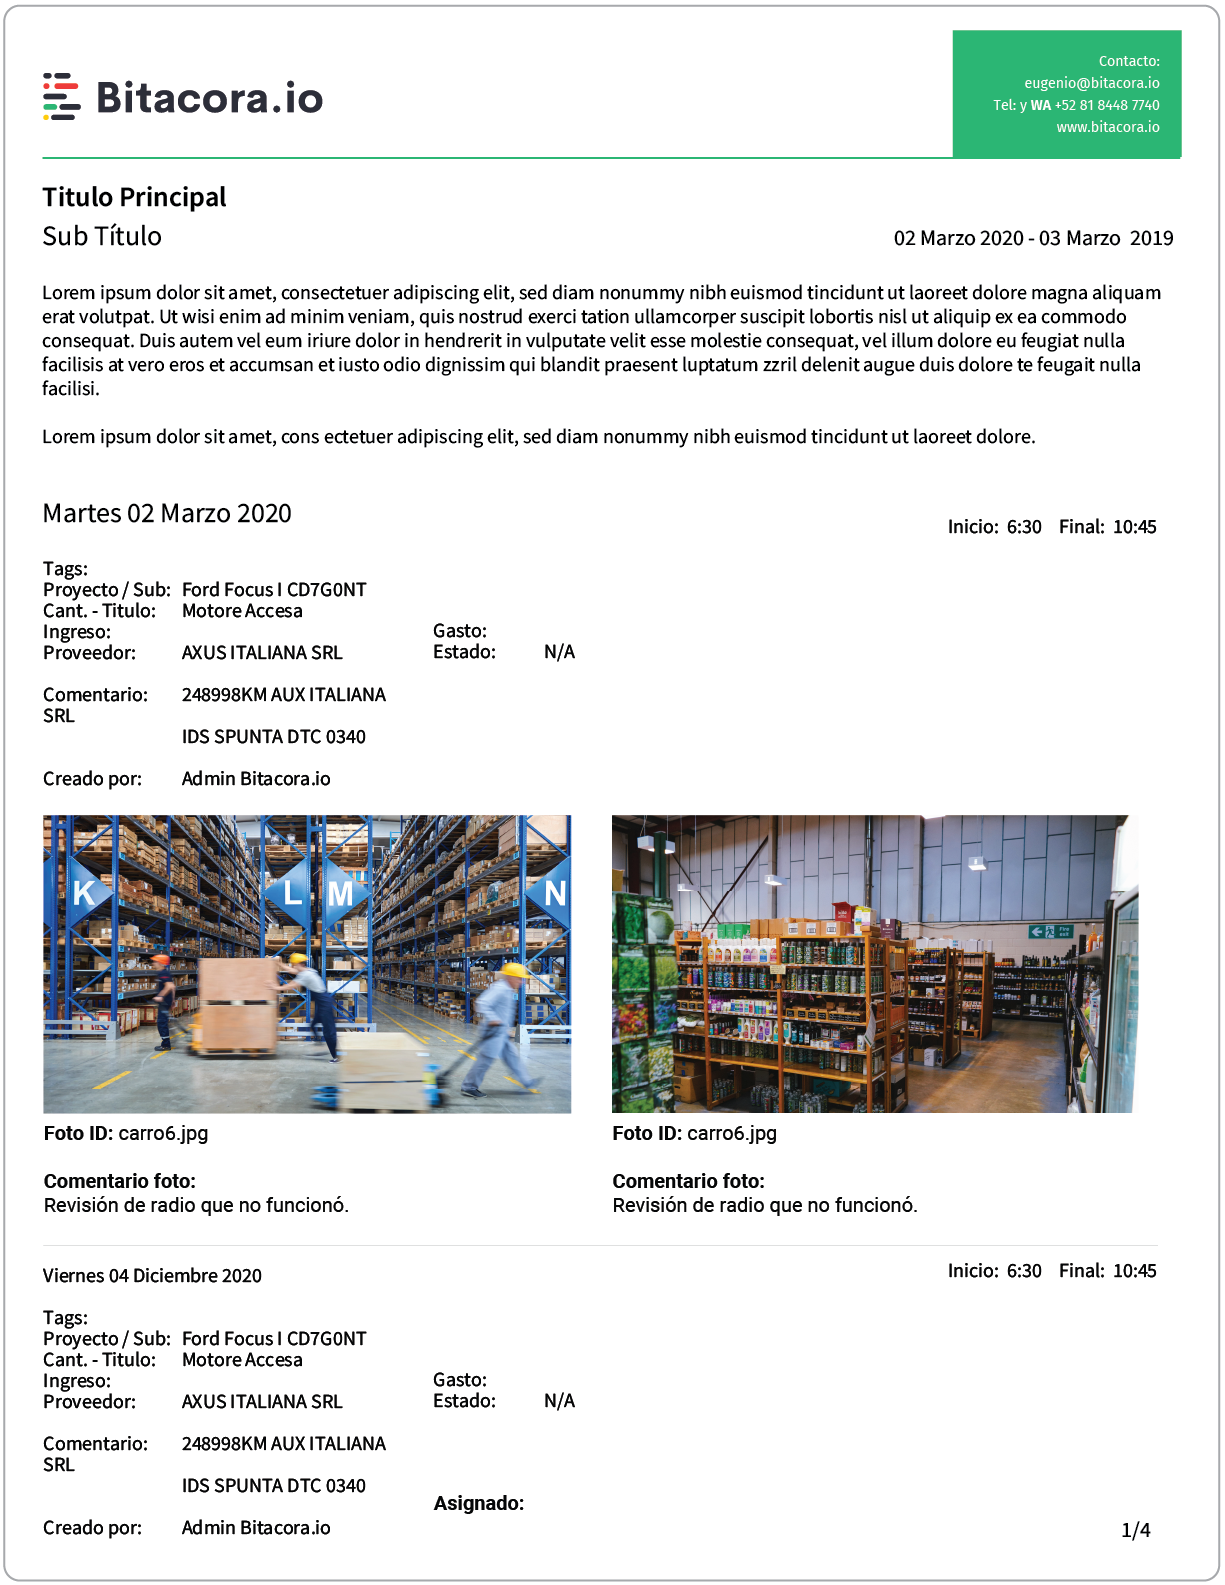
- Regular : Loose spacing, large images, ordered by day.
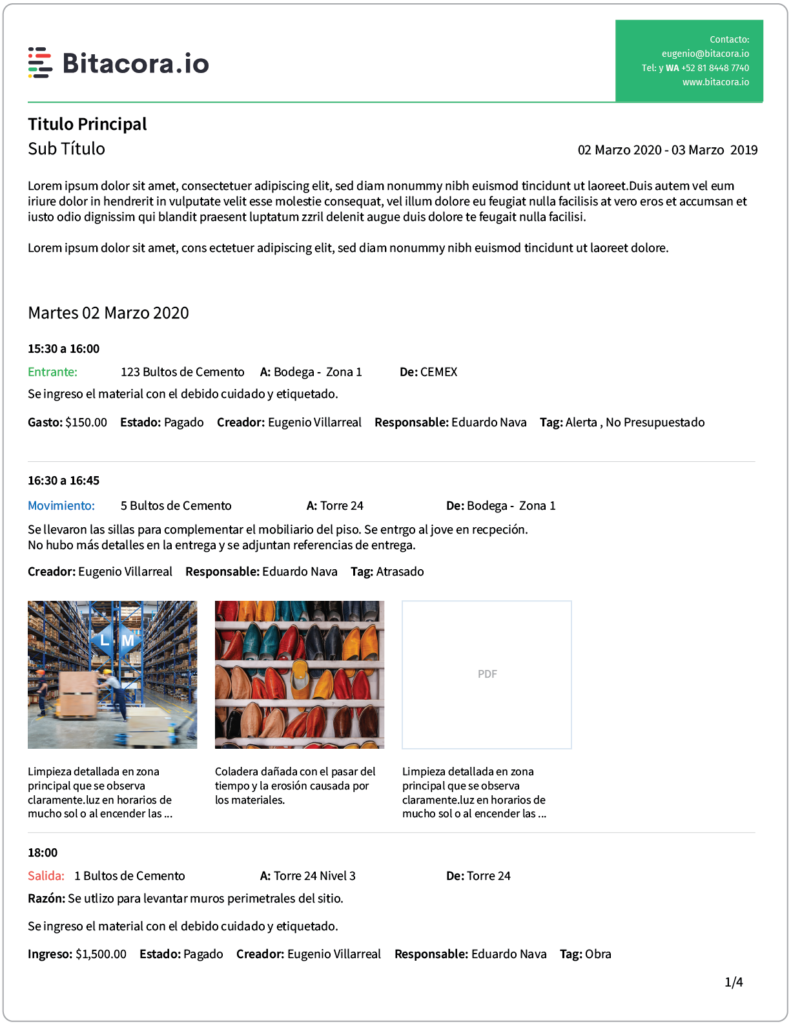
- Compact : Compact spacing, medium sized images, ordered by time and day of log.
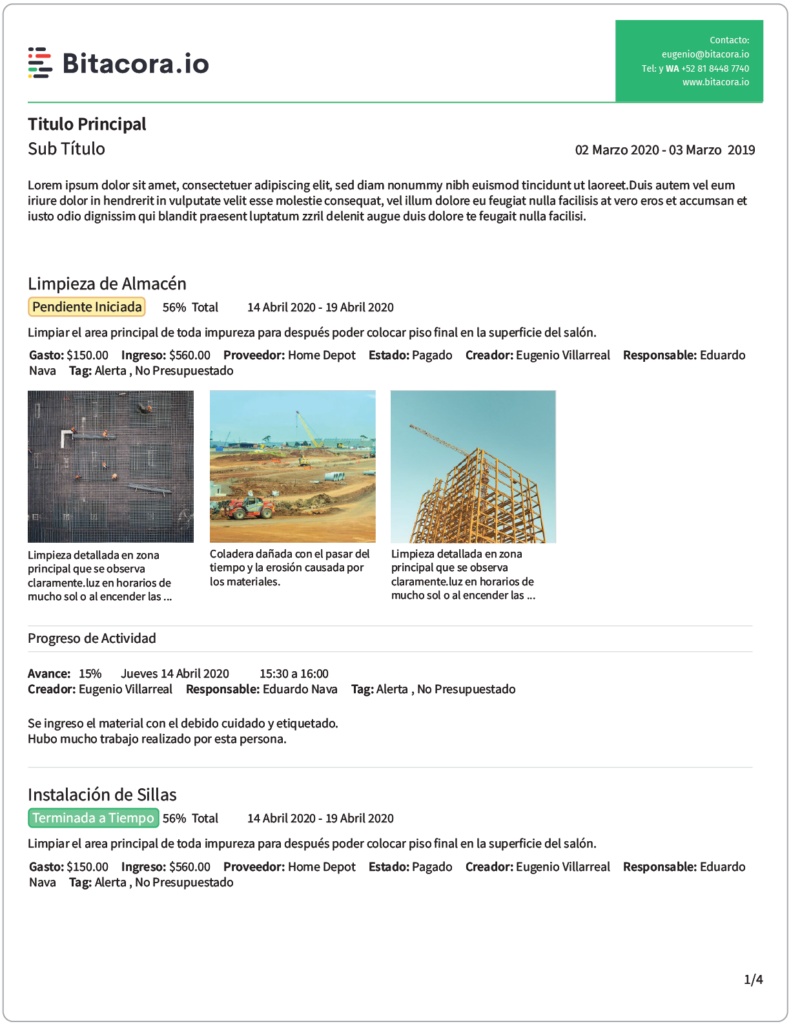
- Progress: Special layout for Scheduled Tasked that shows each associated progress log.
Regular
Los are shown by cronological order, each with their date and time of event.
Images are shown large and complete, 2 per row.
Fields that are empty are still shown as blank. You can control what fields are displayed through the report configurationoptions icon next to the create reports button.
Compact
Logs are ordered chronologically by day and time, they are grouped by day and each shows the time of the event.
Attachments are shown in medium cropped size. they are grouped 4 per row.
Fields only show up if information was captured and overall reduces the amount of white space.
Important Additional Notes
Dates and Times
It’s important to know that when you capture an event, different dates are logged. For example:
- Date and time of creation: The day and time the event was logged.
- Date and time of the event : The day and time that event logged ocurred, this can be set or changed manually. Maybe the event ocurred yesterday, but you logged it today.
- Date and time of the duration : Defines the start and end date and time of an event logged. You can set this manually on logs captured or edited from web dashboard.
Here an example:
Until today at 10 pm I logged ( date of creation ) that at 8 am ( date of event ) the room was cleaned and this event lasted from 8:05 am to 4 pm ( duration ).
When you use the Compact layout, the report shows the duration values, if these are not set, it will show the date of the event, if this is not set, it will show the date it was created.
You can change any of these values from your web dashboard, except the creatión values which are system generated. This means that if you captured an event from web or app, you can add information and attachments to it later on. If you have version control enabled, you can navigate through these changes.
Currently, from app you can only manually set the date of the event.
The creation date can not be defined nor modified as this value is set by the system to establish when it was truly created. The creation date can be viewed when you export your data in Excel format or when you expand the event details row in your web dashboard’s activity tables.


